
You're thirty seconds into a client demo when a delivery truck rumbles past your window. Or maybe you're listening to a team update when your neighbor's dog starts barking. These audio interruptions can derail professional meetings in seconds.
Mastering Zoom's mute controls isn't just about avoiding embarrassment. It's about maintaining professional presence and keeping meetings focused. Whether you're presenting to prospects, leading team calls, or joining training sessions, clean audio management separates prepared professionals from amateur participants.
This guide covers every mute function Zoom offers across desktop and mobile platforms, plus troubleshooting tips for when things don't work as expected.
What Is Zoom Muting?
Zoom muting is the ability to silence your microphone during video calls, preventing your audio from reaching other participants. The platform offers individual mute controls for participants and host-level controls to manage entire meetings.
How to Mute Yourself on Zoom Desktop
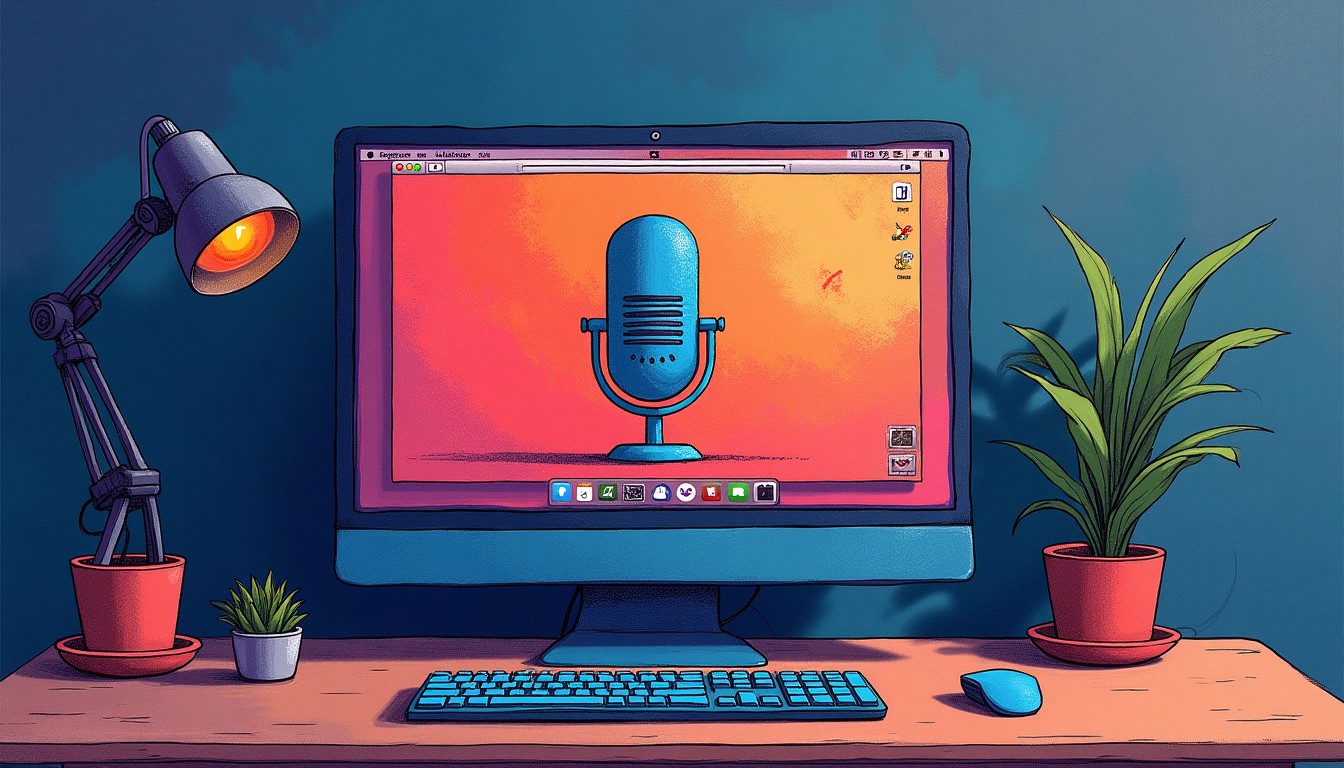
Desktop muting is straightforward once you know where to look. The microphone icon sits in the bottom-left corner of your Zoom window during active meetings.
Basic Muting Steps:
- Join your Zoom meeting
- Locate the microphone icon in the bottom toolbar
- Click once to mute (icon shows red slash)
- Click again to unmute (icon returns to white)
The icon remains visible even when you're sharing your screen, though it moves to the top toolbar. Get familiar with this location before presenting to avoid fumbling during demos.
Auto-Mute on Entry: To join meetings muted by default:
- Open Zoom settings (click profile picture > Settings)
- Select Audio from the left menu
- Check "Mute my microphone when joining a meeting"
This prevents accidental audio leaks when joining back-to-back calls or meetings that start immediately.
How to Mute Yourself on Zoom Mobile
Mobile muting works similarly but requires touch gestures instead of clicks. The mute button appears in the bottom toolbar on both iOS and Android.
Mobile Muting Process:
- Join your meeting through the Zoom app
- Tap the microphone icon in the bottom toolbar
- Icon displays red slash when muted
- Tap again to unmute
If the toolbar disappears during your call, tap anywhere on the screen to restore it.
Push-to-Talk Feature: Zoom mobile includes a useful push-to-talk option. While muted, press and hold the microphone button to speak temporarily. Release to return to mute. This works well for quick responses in larger meetings.
Mobile Auto-Mute Settings:
- Open Zoom app
- Tap Settings (bottom-right)
- Select Meetings
- Toggle "Always Mute My Microphone" on
Host Controls for Muting Everyone
Meeting hosts have additional controls to manage group audio. These powers come with responsibility, especially during client presentations or team meetings.
Mute All Participants:
- Click "Participants" in the Zoom toolbar
- Click "Mute All" at the bottom of the participants panel
- Choose whether to allow participants to unmute themselves
- Confirm your selection
Use this during presentations, when background noise becomes disruptive, or when you need complete attention for announcements.
Individual Muting: To mute specific participants:
- Open the Participants panel
- Hover over the person's name
- Click "Mute" next to their name
This targeted approach handles isolated audio issues without affecting the entire group.
Mute on Entry Setting: When scheduling meetings, enable "Mute participants upon entry" to start with quiet rooms. This setting appears under Meeting Options during the scheduling process.
Keyboard Shortcuts for Quick Muting
Keyboard shortcuts eliminate the need to hunt for buttons during presentations or while multitasking.
Essential Zoom Mute Shortcuts:
- Windows: Alt + A (toggle mute/unmute)
- Mac: Command + Shift + A (toggle mute/unmute)
- Push-to-Talk: Spacebar (hold to speak while muted, works on all platforms)
Host-Only Shortcuts:
- Windows: Alt + M (mute all)
- Mac: Command + Control + M (mute all), Command + Control + U (unmute all)
To verify or customize shortcuts:
- Go to Zoom Settings > Keyboard Shortcuts
- Review current assignments
- Modify as needed for your workflow
Recording and Transcribing Muted Meetings
Many professionals need meeting transcripts for follow-up, compliance, or sharing with absent team members. Zoom's built-in recording captures audio from all participants, but the transcription quality often falls short for professional use.
When recording important client calls or strategy sessions, I've found that dedicated transcription tools like Scriptivox produce much more accurate results than Zoom's built-in transcription. You can upload Zoom recordings directly to get precise, timestamped transcripts with speaker identification.
For meeting transcription workflows, the process looks like:
- Record your Zoom session (locally or to cloud)
- Download the recording file
- Upload to your transcription platform for processing
- Export formatted transcripts for distribution
This approach works especially well for discovery calls, training sessions, or any meeting where you need searchable, shareable notes.
Troubleshooting Common Mute Issues

Even experienced Zoom users encounter mute problems. Here are the most common issues and their solutions.
Cannot Unmute Yourself: This usually means the host has restricted participant audio controls. Look for a notification at the top of your screen stating "You cannot unmute yourself." Use the chat to request unmute permission from the host.
Microphone Not Detected:
- Click the arrow next to the mute button
- Select the correct microphone from the dropdown
- Test your mic using "Test Mic" in audio settings
- Check system permissions (Windows: Settings > Privacy > Microphone; Mac: System Settings > Privacy & Security > Microphone)
Keyboard Shortcuts Not Working: Ensure the Zoom window has focus. If you're screen sharing or using other apps, Zoom shortcuts may not register. Check Settings > Keyboard Shortcuts to enable global shortcuts if needed.
Audio Cutting Out: This often indicates bandwidth issues or hardware problems. Try switching to a different microphone, moving closer to your router, or closing bandwidth-heavy applications.
Best Practices for Professional Meetings
Effective mute management goes beyond knowing where the buttons are. These habits help maintain professional standards across all your virtual meetings.
Start with Clear Expectations: For meetings you're hosting, establish audio ground rules early. Let participants know when to stay muted, whether questions should come through chat or voice, and how you'll handle Q&A sessions.
Use Background Noise Suppression: Zoom's built-in noise suppression helps filter typing, traffic, and household sounds. Access this under Settings > Audio > Suppress Background Noise. Medium works well for most environments; use High only in very noisy spaces as it can affect voice quality.
Test Before Important Calls: Run a quick audio check before client presentations or team meetings. Test your microphone in Zoom settings and confirm you're using the right audio device. Taking calls from quiet locations when possible shows respect for other participants' time.
Mute When Not Speaking: Default to muted in group calls. Unmute only when contributing to avoid accidental interruptions or background noise. This becomes especially important in larger meetings or calls with external participants.
Managing Zoom audio well requires minimal technical knowledge but significant impact on professional perception. Clean audio habits signal preparation and respect for other participants' time. Whether you're leading sales demos, participating in team updates, or joining client strategy sessions, mastering these controls helps ensure your message comes through clearly.
Frequently Asked Questions
About the author

Arsh co-founded Scriptivox and built the core of what it runs on: the AI models, the API, the meeting bot, and the technical infrastructure that keeps transcripts accurate at scale. He also handles customer support directly, because the people building the product should be the ones talking to the people using it. He writes about real transcription workflows for legal, research, and content teams, grounded in the systems he ships and maintains himself.